When the leaves begin to change color and a golden glow envelops the landscape around Saalbach-Hinterglemm: Then autumn has arrived. For us at Barbarahof, this also means that we are currently in the mid-season – before things really get going again in December. And although we are already very much looking forward to the winter months, the snow and our guests, we are currently enjoying the somewhat quieter time with the family.
In addition to many outdoor activities, we like to sit down together in the evenings and play or do crafts with our son Felix. A very special experience this year was the pumpkin carving.
When the Steger family celebrates Halloween …
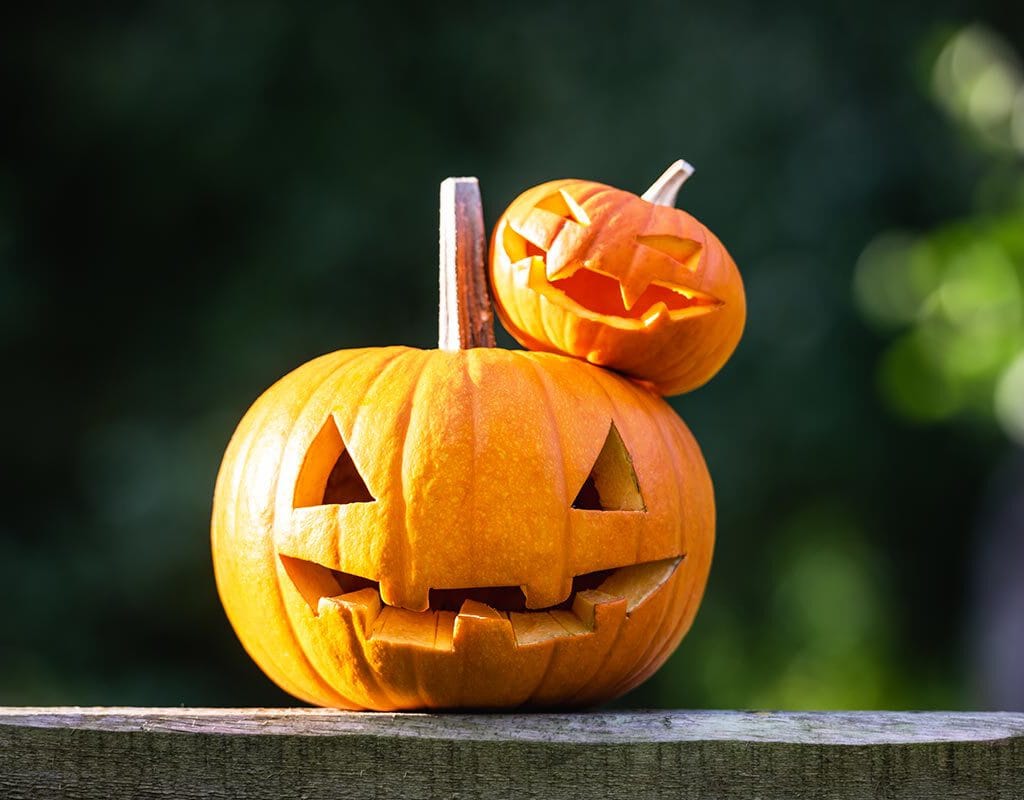
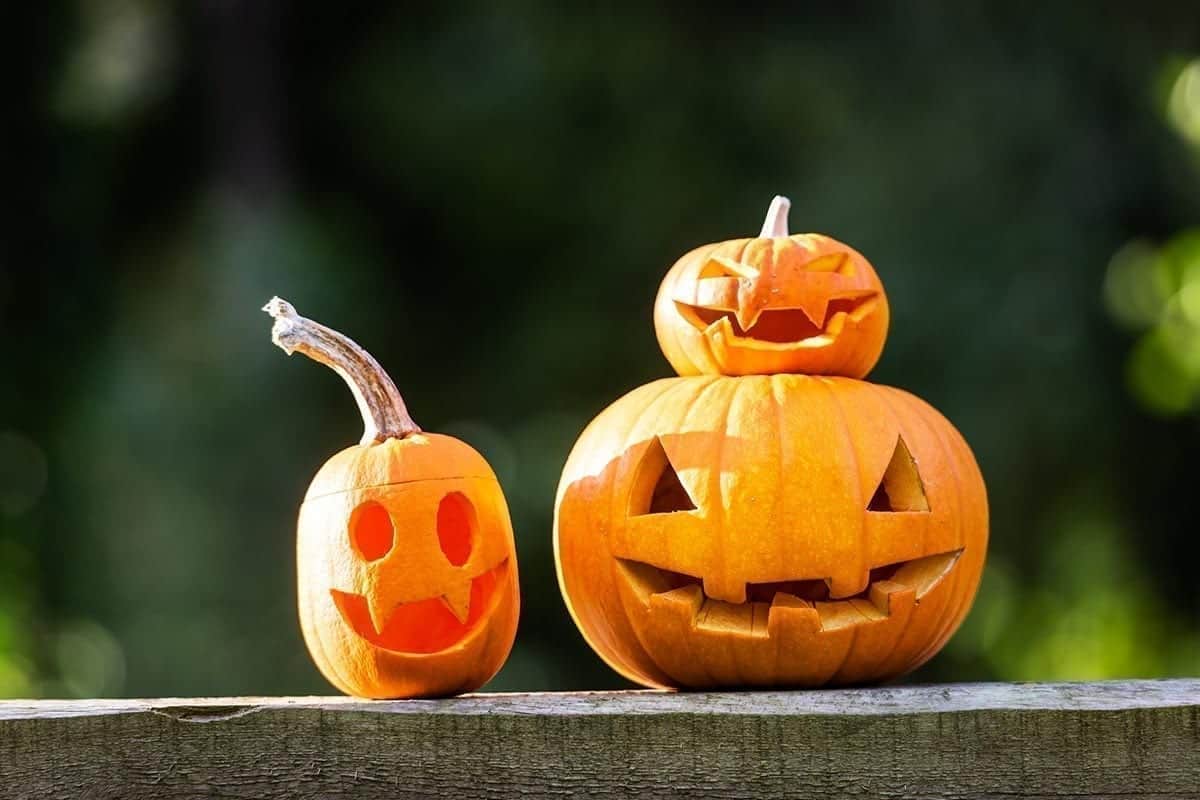
… then shining children’s eyes are pre-programmed. Already at the beginning of October, the anticipation of the extraordinary celebration was so great that Grandpa Rudi called for pumpkin carving. Together with his three grandchildren Jonas, Simon and Felix, he cut funny faces into the orange vegetables. And the joy was huge! The children watched grandpa enthusiastically and also participated diligently themselves.
Since then, the “Jack O’Lanterns” (as the finished pumpkins are called in the USA) have been on our doorsteps. In the evening, when it gets dark, we always light a tea light in it, and the little ones can hardly get enough of it. But neither do we “grown-ups”, after all, the orange works of art turned out really adorable – and very creepy!

Five steps to a unique pumpkin
You don’t want to miss this fun and reach for the carving knife yourself? We tell you how it works …
Here’s what you’ll need:
- one pumpkin (Hokkaido pumpkins are best)
- a pointed, sharp knife
- a spoon
- A pen
Step 1
To be able to hollow out the pumpkin, you first need to cut out a lid. The best thing to do is to sketch out the shape first.
Tip: If you cut serrations into it or choose a hexagon or octagon shape, the lid will hold better than if it is round.
Step 2
Now you can hollow out the pumpkin. To do this, take out the soft pulp including the seeds with a large spoon. Afterwards you should scrape the inside of the pumpkin still a little, so that also really no fibrous pulp remains.
Step 3
Now your creativity is needed! After all, the point is to paint a spooky (or even funny) face on the pumpkin. Should he smile, wink or show his tongue? There are no limits to the imagination.
Step 4
Cut out the facial features using the pre-drawn lines – preferably with a sharp knife.
Step 5
To ensure that you have something from your work of art for a long time, you can coat all cut surfaces with a little oil. Then the pumpkin will last much longer.
Tip on the side: Do not throw away the seeds!
From it you can make crispy roasted pumpkin seeds. To do this, you just need to wash them, spread them on a dish towel and rub a little dry. Then rub with one to two tablespoons of oil, salt and spices to taste. And it’s “off to the oven!” After ten minutes at 180 degrees, turn the kernels once, and after about 25 minutes, the delicious snack is ready!
If you can’t get enough of pumpkins and autumnal delicacies, you should definitely read more about the Genuss-Herbst at Hotel Barbarahof!
